Digital Design Workflow — Scan to Prosthetic in Exocad
CAD Design — October 2025

Case Overview
This walkthrough follows a full-arch case through the complete digital design pipeline — from initial STL scan intake through framework engineering, waxup design, and milling preparation. Every stage was completed in Exocad by the same technician who would go on to fabricate the final prosthetic. For dental practices and labs evaluating an Exocad design service partner, this case demonstrates the depth of digital control that drives our physical results.
Step 1: Digital Scan Intake & Alignment

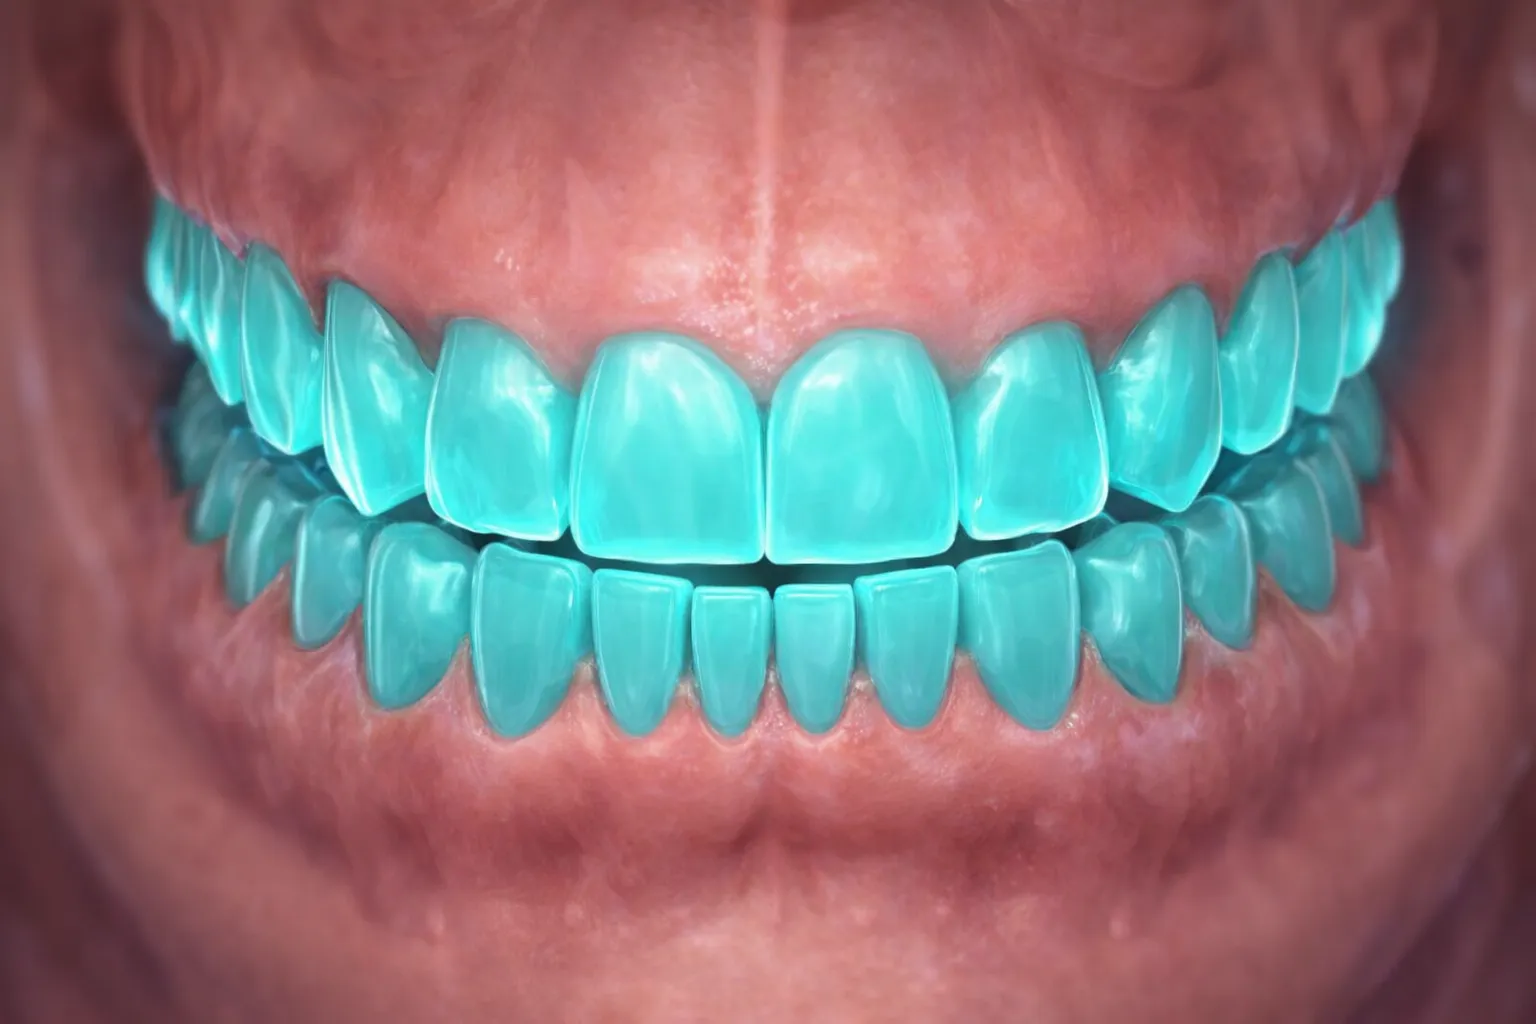
The workflow begins with STL scan data from the referring practice. Intraoral scans, opposing arch data, and bite registration are imported into Exocad and verified for completeness. The scan data is aligned to the patient’s existing anatomy, establishing the spatial reference that every subsequent design decision builds on. Margin lines, insertion axes, and material thickness requirements are defined at this stage.
Step 2: Framework & Implant Analysis
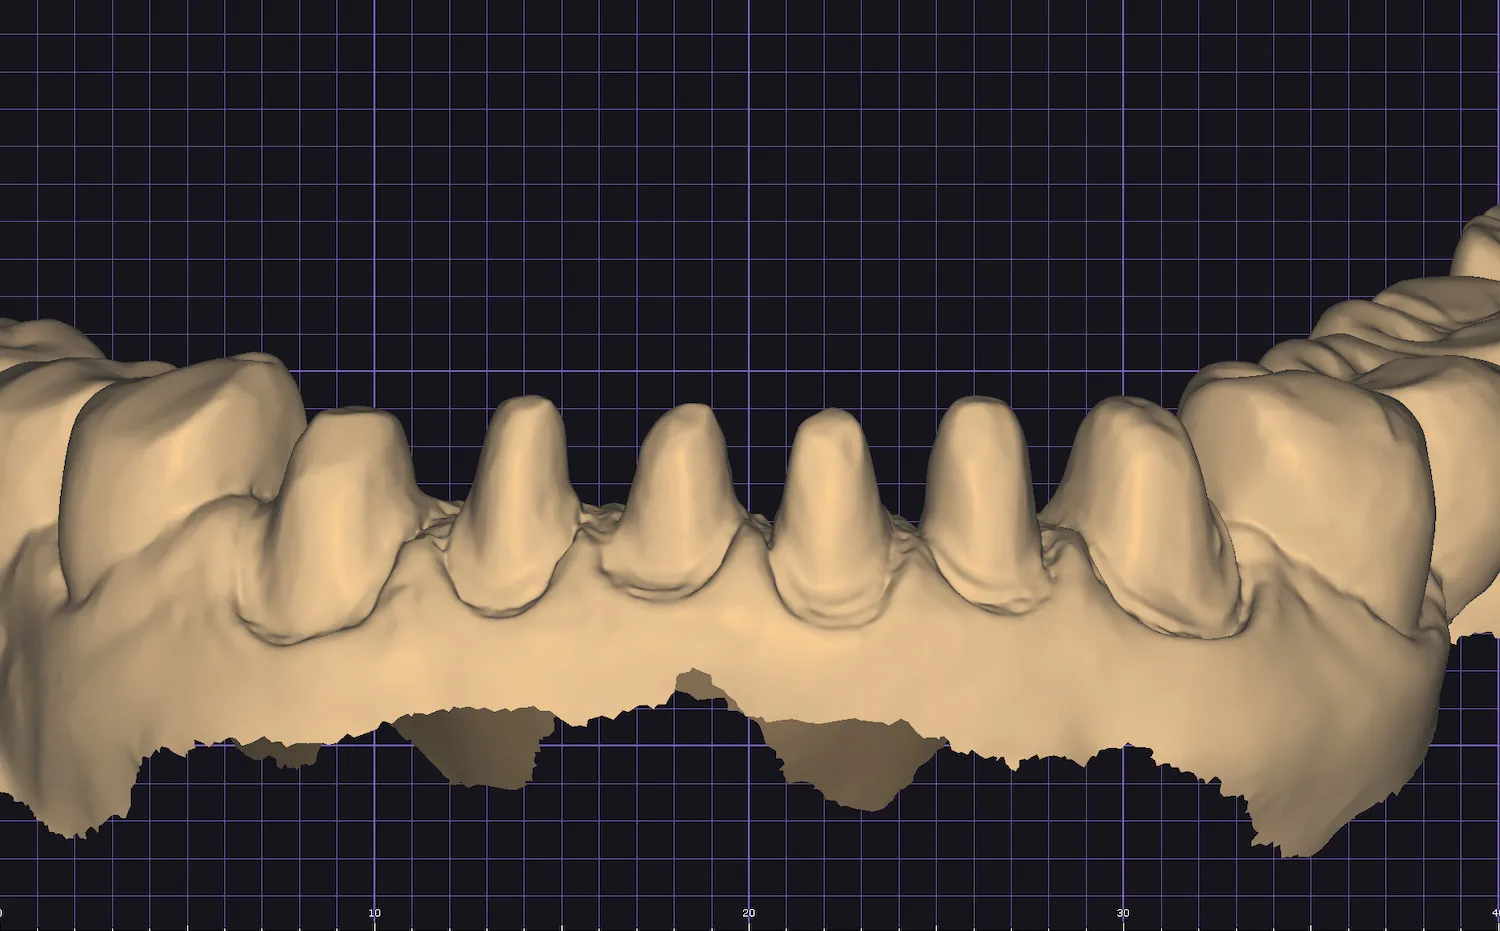
With the scan data aligned, framework design begins. For implant-supported cases, screw channel positions are mapped and intersection analysis confirms there are no collisions between the framework, abutments, and planned tooth anatomy. Load distribution across implant fixtures is evaluated digitally before any material is committed. This stage catches potential fit issues that would otherwise surface at try-in — saving chair time and remakes.
Step 3: Waxup & Anatomy Design
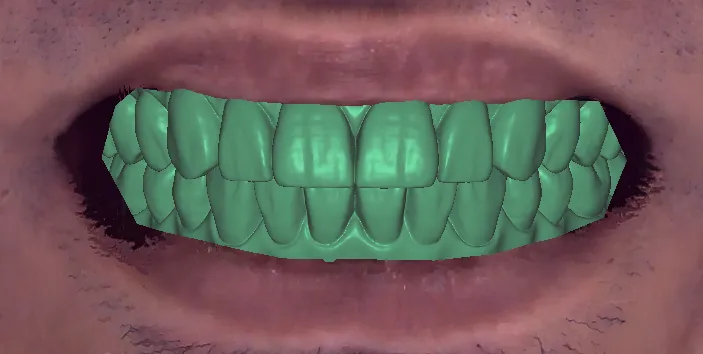
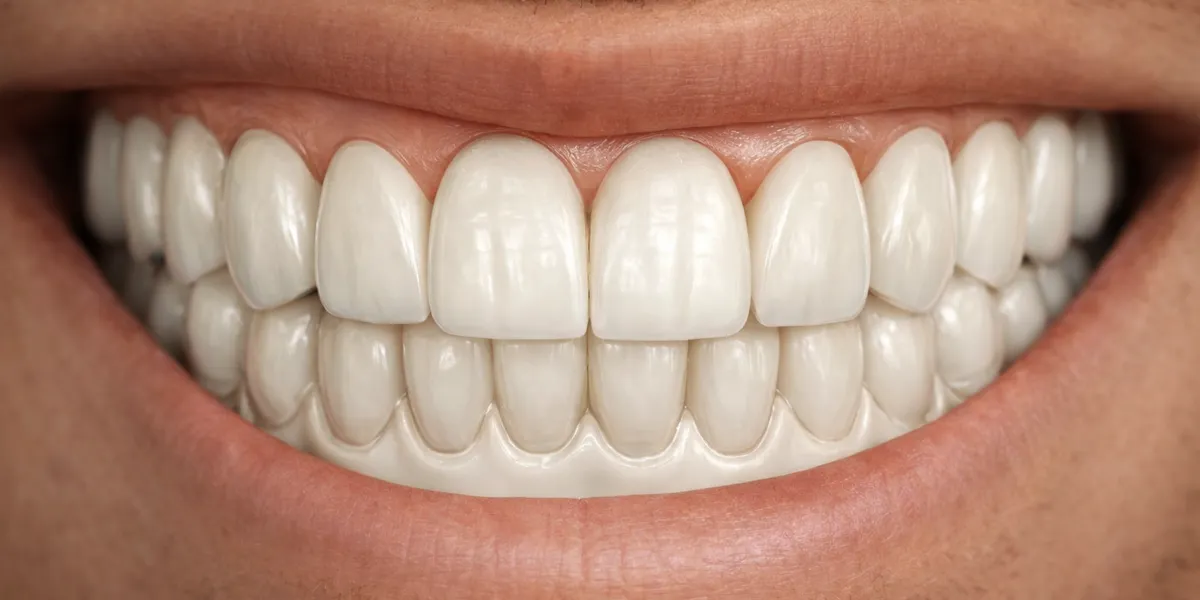
The full-contour waxup phase is where engineering meets artistry. Tooth anatomy is sculpted digitally with attention to occlusal morphology, emergence profiles, and embrasure form. The waxup is overlaid against the patient’s smile line and facial reference to verify esthetic proportions before milling. Changes at this digital stage cost minutes, not hours — a major advantage of the CAD-first workflow.
Step 4: Milling Preparation
Once the digital design is verified and approved, the file is prepared for milling. Zirconia disc selection, shade pre-mapping, and nesting are finalized. The verified digital design transfers directly to the milling workflow with no interpretation gap — the same technician who designed the case oversees fabrication, ensuring design intent carries through to the finished product.
Result
The complete scan-to-prosthetic pipeline delivers predictability that manual workflows cannot match. Every design decision is documented, reversible, and verifiable before physical fabrication begins. For practices and labs looking for an Exocad design service that maintains single-technician accountability from first click to final polish, this is the workflow behind every case we deliver.
Get Started
Ready to Work Together?
Upload your case files directly or reach out with questions — we respond within 24 hours.